
Setup Github and Unreal
This is a How-Not-To. While documenting the steps taken to reach a goal, something got in the way and it became too much of a time sink. In this case. Using Github with Unreal was clunky and inconsistent with the beta Github version that was included in Unreal 5.
End result: Where’s my repo? There’s no mechanism built into Unreal, that I could find, that would allow me to push to my Github Repo. There were other plugins, but in my research I found the writer of this beta plugin and even he seems to discourage its use. I will waste no more time with this.
Pre-reqs
I assume you have already installed Unreal and have created something there, or at least started a project. In my case, I’ve started a project from the TopDown template. It will eventually be chess, but for now I want to get version control and collaboration hashed out so I can build something with friends.
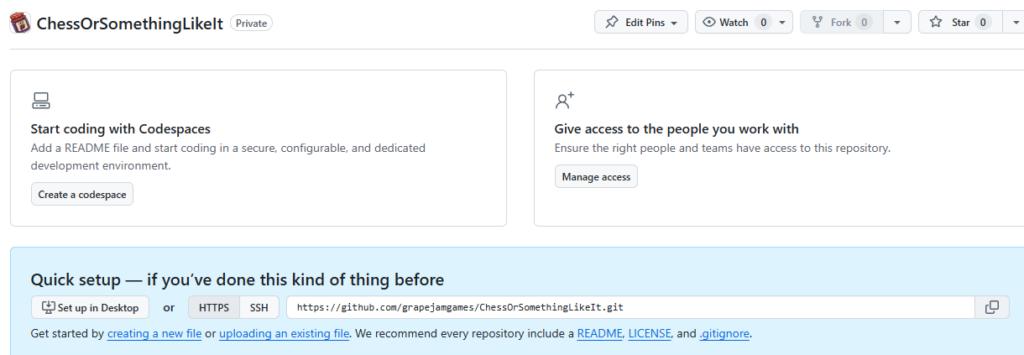
First, create a repository in github.
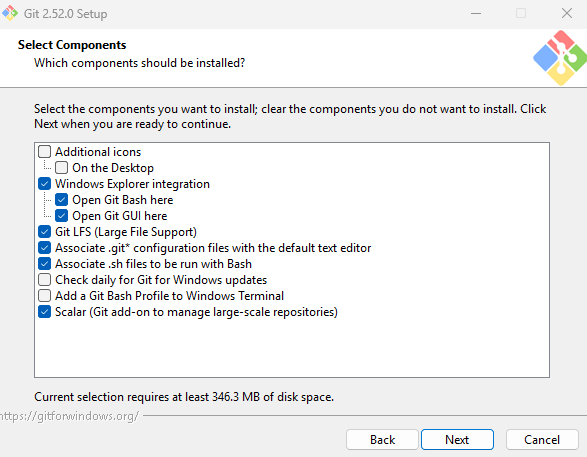
Next, install git on your computer. I kept all the defaults and made sure “Git LFS” was checked when selecting components.
Connect your repo to Unreal
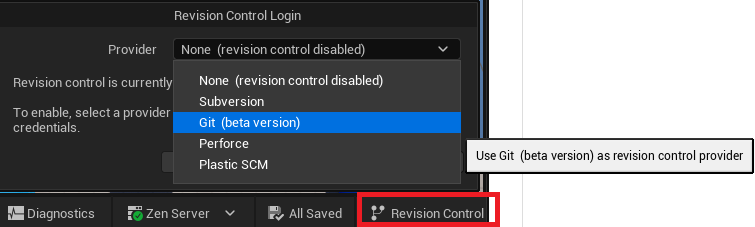
pen your project and Click Revision Control in the bottom right corner.
The Git Path should populate itself after Git is installed. Go to Github and copy the https path to the repo.
Fill in the dialogue box with the repo address and check the LFS box, then initialize the project.
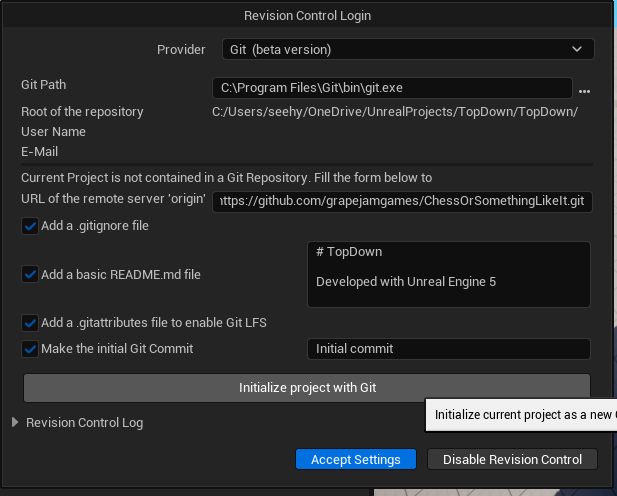
Then accept the settings.

Commit your new changes
Before making your first commit you need to configure your name and email in Git. Using a terminal, or powershell issue the commands to set this value
$ git config --globa user.email "[email protected]"
$ git config --global user.name "Chris-calmatlas"
Now “Submit Content” in Unreal
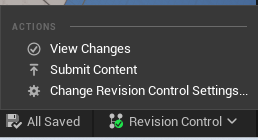

In the message log window you can select the Revision Control log on the left to see a “Committed…” message at the end.

Pushing to the Repository
No GUI found built into this version of Unreal.